Painting models at this scale (18mm) may seem pretty daunting, I know it did to me. So I thought I’d share my techniques for painting this with a few explanations why I did things the way I did.
As usual I started with a black primer, then I added the base coat. Because I knew I wanted the model to be mostly green I picked out a series of different ones to make telling each item of clothing apart easier.
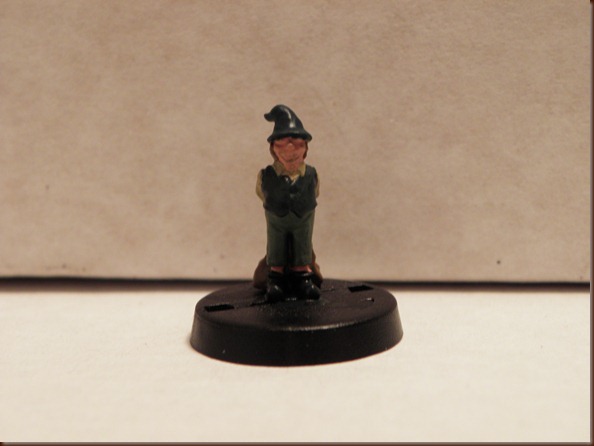
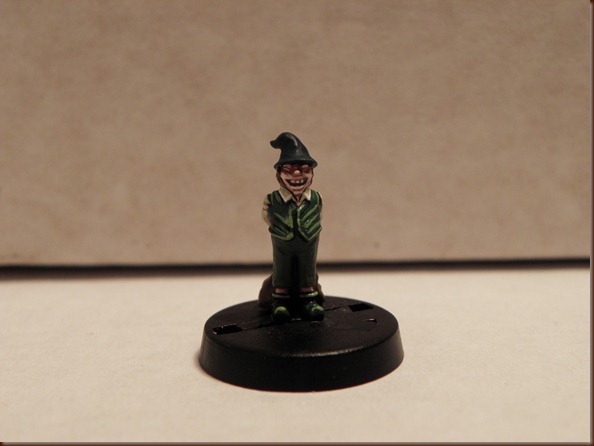
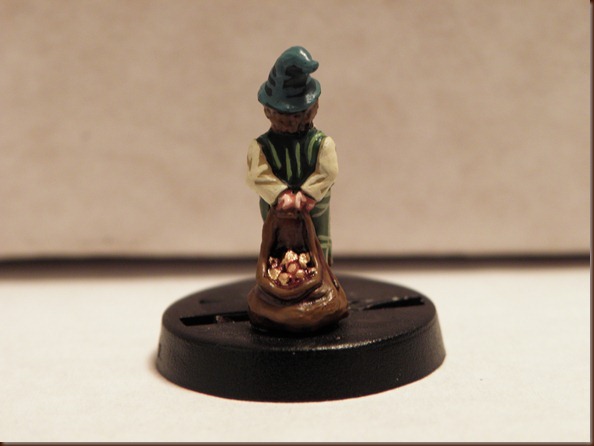
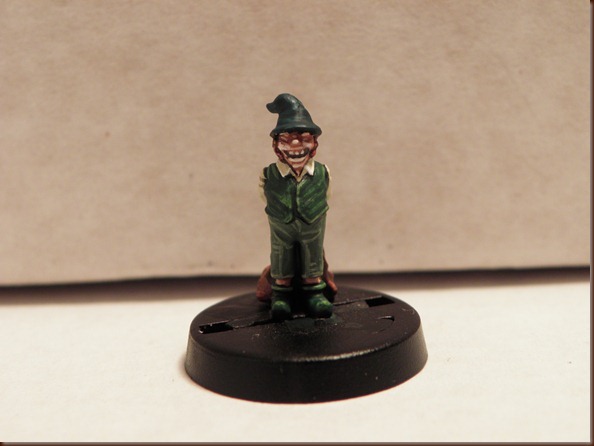
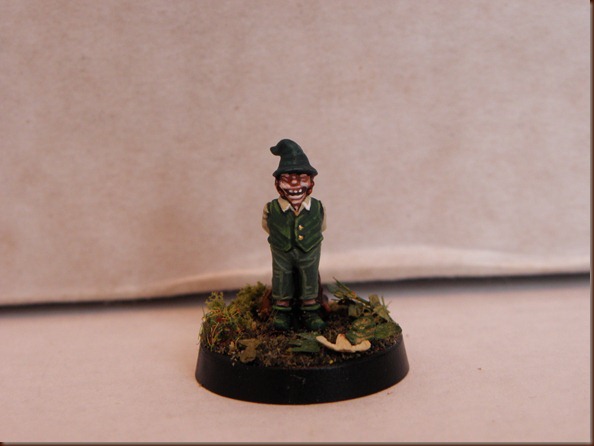
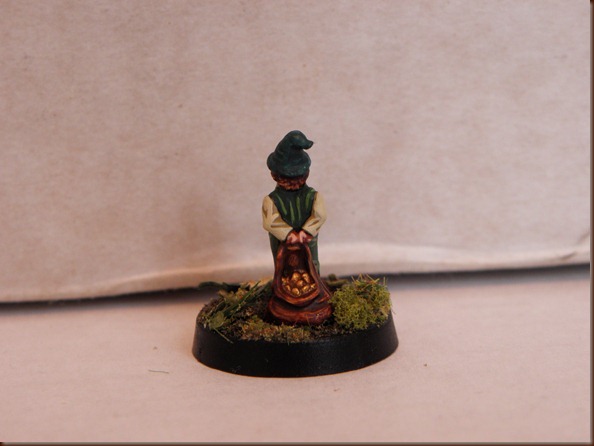
I started with Orkhide Shade on the waistcoat and boots , with Desert Yellow on the shirt underneath. The trousers were painted Knarloc Green and the hat Deep Turquoise. The flesh was painted with Khardic Flesh and the sack with Bloodtracker Brown. The coins were painted with Dwarf Bronze.
As always I go right to the edge of the next colour with the base coat because I am aiming to create shades in the recesses. Also, don't be afraid to be a bit messy at this stage, especially with things like the the shirt. It will be difficult to fix the shirt later on without messing up the waistcoat so I made sure I painted it thoroughly leaving no black.
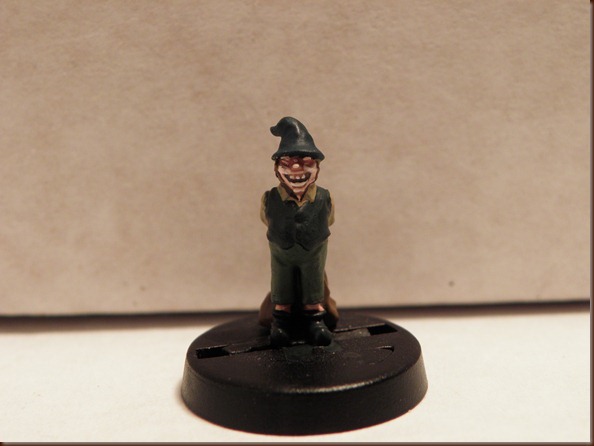
The flesh was painted next, using Khardic Flesh and White, mixing in more white for a second highlight. The Teeth were also picked out in white. I tend towards using a very long brush, all the time, because I get better coverage with my paint than I do with a small brush. This does give my minis a broad-stroked finish, but I often soften this effect with washes.
Next I picked out the shirt using Bleached Bone. Because of the model’s size there was no reason to give a second highlight and the flatter, two tone paint scheme works well with the more naturalistic style I am trying to develop.
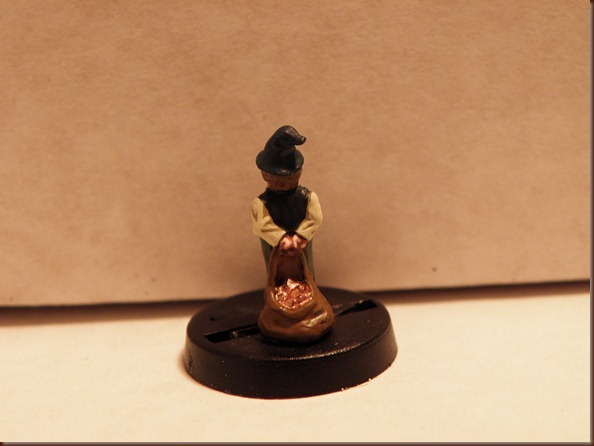
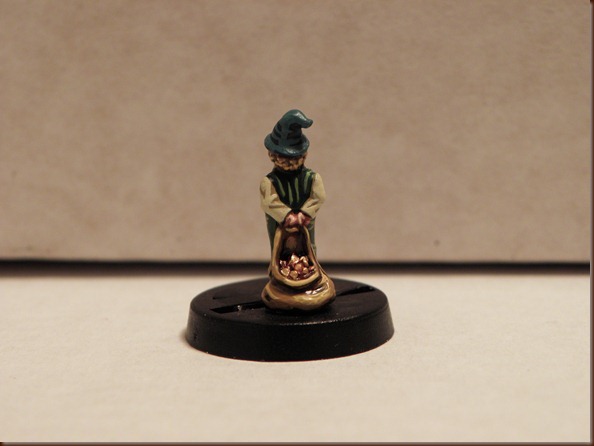
The sack and gold were washed with Ogryn Flesh and rehighlighted with Bloodtracker Brown, as was the hair.
Next I mixed up some Dark Green and Golden Yellow and highlighted the waistcoat and boots. I concentrated my highlights on the extreme creases in the coat, this prepares the model for the later wash that will help blend the highlights. As always I tend to not spend too long working on the boots because they are often obscured by the basing.
I highlighted the trousers using Gretchin Green, again focusing on the extreme edges.
I added Arctic Blue to the Deep Turquoise and highlighted the hat.
The coins were then highlighted with Shining Gold followed by Burnished Gold and the hair and the sack were given a coat of Desert Yellow,
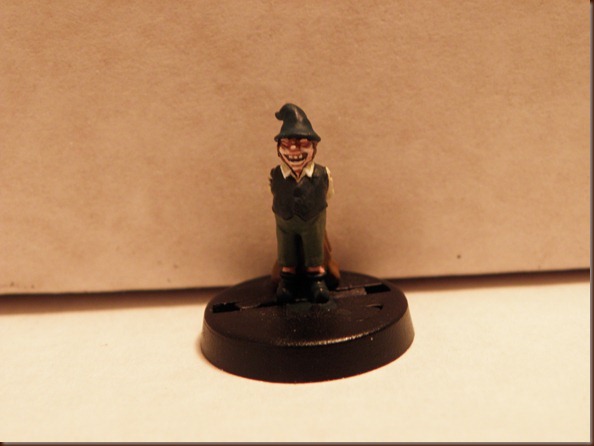
Mixing up a washed of Dark Green and Thraka Green I washed the waistcoat, trousers, hat and boots. This tones down the highlights and deepens the shade in the recesses. Because the wash-paint mix is runny but with more pigment than a normal wash, you can control it and push it into the edges of the section, eliminating any black or dark areas and generally neatening up the highlights. It is easy to continue to add layers of the same wash to reduce the definition between shade and highlight in different areas. For example, around the bulge of his stomach, but not in the recess between coat and arm.
Finally I added some Gryphonne Sepia to some Brown Ink (the point of adding the wash to the ink is to tone down the shine the ink leaves, while retaining the strength of colour and the fluid properties of the ink) and painted this over the sack and the hair. Using my pointed clay shaper I added two buttons in Burnished Gold to the front of the waistcoat and I was done.
I based the model using my premixed Gale Force 9 earth (which has small stones and other bits of flock in it). I added GF9 spring undergrowth, Javis Summer Mix static grass and various leaves from Decour Plus. Finally I added a small weed bush from Silflor.
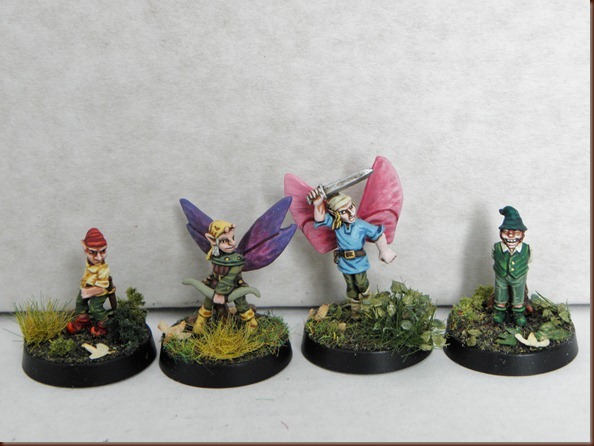
I hope that helps, all four of the Faerie Folk miniatures were great to paint, if a little daunting, but certainly worth it in the end…
Don’t they look stunning?
Until next time, keep up the good work guys.
The Duke
Next Time: Lord of the Rings Elves


Comments
Post a Comment